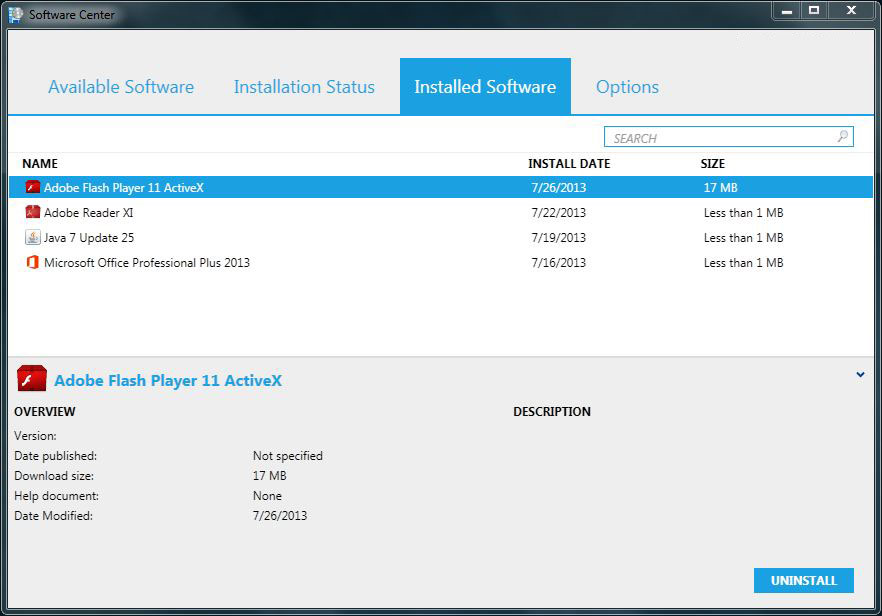
![]() About three weeks ago, I finally got around to installing and configuring Microsoft System Center Configuration Manager to manage approximately 200 computers on my workplace’s network. Its some great software and I’m kicking myself for not using it in the past. We’ve been able to quickly catch up on Windows and other updates through WSUS and SCUP as well as gain intelligence on what’s going on on our desktops and more that we never had before. One of my favorite features is the “Software Center” and I’ve been working on creating applications for the most common software requests we get, as well as what we install standard on all of our desktops.
About three weeks ago, I finally got around to installing and configuring Microsoft System Center Configuration Manager to manage approximately 200 computers on my workplace’s network. Its some great software and I’m kicking myself for not using it in the past. We’ve been able to quickly catch up on Windows and other updates through WSUS and SCUP as well as gain intelligence on what’s going on on our desktops and more that we never had before. One of my favorite features is the “Software Center” and I’ve been working on creating applications for the most common software requests we get, as well as what we install standard on all of our desktops.
After scouring the Internet, I’ve gathered that most people are using the EXE package from Adobe to install the Flash Player and creating scripts and other files to disable the auto-update features and keep it silent. To me, this is a huge let down because an MSI install allows the use of the Application model in SCCM 2012 which greatly simplifies the uninstallation/installation of new versions and the use of supercedence rules. After some digging around, testing, troubleshooting, and retesting, I think I’ve come up with a great way to use the MSI package instead of the EXE and still disable the auto-update features.
What you’ll need:
Microsoft ORCA from the Windows SDK
Adobe Flash Player MSI package
Adobe Flash Player EXE package (optional)
Here is how I prepared the MSI:
Step 1: Obtain the necessary items from above.
Step 2: Open the MSI package in ORCA.
Step 3: Click Transform -> New Transform.
Step 4: Choose the “CustomAction” table on the left.
Step 5: Locate “NewCustomAction1” in the action column in the right panel and edit that row’s target to read “-install -msi -au 2”.
Step 6: Click Transform -> Generate Transform and save the transform file.
Creating the application:
Step 1: Place the MSI package and your transform file in the share on your server where you normally put applications. (ex: \\cfgserver\Application Library\Flash Player)
Step 2: In SCCM Management Console click on Software Library -> Application Management -> Applications -> Create Application.
Step 3: Choose Automatic, Windows Installer, then browse to your network share and select the MSI package. Click Next.
Step 4: Click Next again and on the General Information Section, add any information you would like up top. At the bottom, choose “Install for System.” In the installation program section add transform file information to the pre-filled command. Mine reads: msiexec /i “install_flash_player_11_active_x.msi” /qn /t flashtransform.mst
Step 5: Complete the wizard.
You can now deploy the Application to a collection and choose the settings you wish for the deployment. In my case, I deployed it to a collection of desktops, making it available instead of required.
Optional Steps:
I listed the EXE package above as an optional download. The reason for this is so we can assign a nice looking icon to the package when it shows up in the Software Center catalog. Again, not necessary, but polishes things up nicely.
Step 1: Right click the Flash Player application you just created and click Properties.
Step 2: On the Application Catalog tab, look at the bottom for Icon: and click the Browse button at the bottom right.
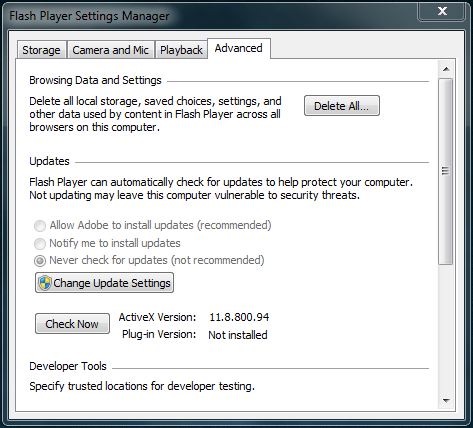
Step 3: Navigate to the location of the EXE package (it can be anywhere). Erase “shell32” from the filename box and type in the filename of the EXE package. Click Open and select the icon from the package. Accept all the changes and you are done! You can verify that auto-update has been disabled by looking in the Control Panel applet for Flash Player.
Troubleshooting:
During my testing I found that on some desktops, the installation would fail. In my environment it came out to be caused by left-overs from old versions of Flash Player that were installed through group policy and the installers were deleted. Even uninstalling through Add/Remove Programs and using the Adobe-supplied uninstall program would not fix the problem 100% of the time. If you get an install error, there is a simple fix. Just do the following:
Step 1: Run the Adobe Flash Player uninstaller. Download at: http://helpx.adobe.com/flash-player/kb/uninstall-flash-player-windows.html
Step 2: Open regedit and browse to HKEY_CLASSES_ROOT\Installer\Features. Browse through each of the keys (folders) there reading the values listed in the right pane. If you see any values in a key referring to Flash Player, delete the entire key. Do the same thing for HKEY_CLASSES_ROOT\Installer\Products.
Step 3: Retry the install and it should go through with no problems.
I’ve also found this procedure fixes errors with Flash Player updates delivered through WSUS and SCUP if you are using them.

Hello Mr. Samson
Great guide, very simple and informative!
I’ve been using SCCM 2012 for a couple of year now, and most of my time has been spend on pesky Java and Flash deployments.
However, when I follow your guide autoupdates are still not being disabled.
I use the following command:
msiexec /i “install_flash_player_11_active_x.msi” /qn /t disableautoupdate.mst
This installs Flash but still has auto updates enabled. I’ve tried re-creating the .mst file with the same results.
Did you ever run into this issue?
Any help would be greatly appreciated. 🙂
All right I got it solved.
I used this command instead and then it worked like a charm:
msiexec /i “install_flash_player_11_active_x.msi” /qn TRANSFORMS=”disableautoupdate.mst”
Thanks Again! 🙂
I haven’t seen that issue, but I know there’s more than one way to specify a transform file. Glad you figured it out and posted back so others can see it in case they experience the same.
I’ve only been using SCCM for about a month and became very frustrated with the deployment options for Flash I didn’t see anyone deploying it this way and thought it wa the simplest and smoothest option so I wrote the blog post about it. Glad It’s helped at least one person so far!
I have not used Orca before. What setting did you change in the transform file to disable autoupdates?
Well its helped atleast two now! I just started using SCCM last week, so this was a great help. Will let you know if I have any trouble. I am using Martin’s installation commands as those are the same commands Adobe recommends for Adobe Reader transform files.
Brendan
Thanks for posting this. I finally have SCCM updating Java and Adobe Reader/Flash so people don’t ask me daily for updates.
Using the command line in the post worked for applying the transform file.
This worked:
msiexec /i “install_flash_player_13_active_x.msi” /q /t flashtransform.mst
This did not work:
msiexec /i “install_flash_player_13_active_x.msi” /q TRANSFORMS=”flashtransform.mst”
Good stuff… Keep’m coming!!!
Thanks for the post! I used your guide to deploy Flash 16.0.0.235 in our enviorment and looks highly successful. I also appreciate the little tid-bit at the end about failures. This is good, relevant information.
Thanks again!
Helpful post. Used it to test Flash 18 and worked as follows
msiexec /i “install_flash_player_18_active_x.msi” /qn /t TRANSFORMS=flashtransform.mst
I have about 300 computers who are failing and the trick about the installer registry keys seems to fix it. Is there any way to automate this registry cleanup so I dont have to touch 300 computers?
Does the deployed application automatically remove a previous version? If not, has anyone implemented that part?